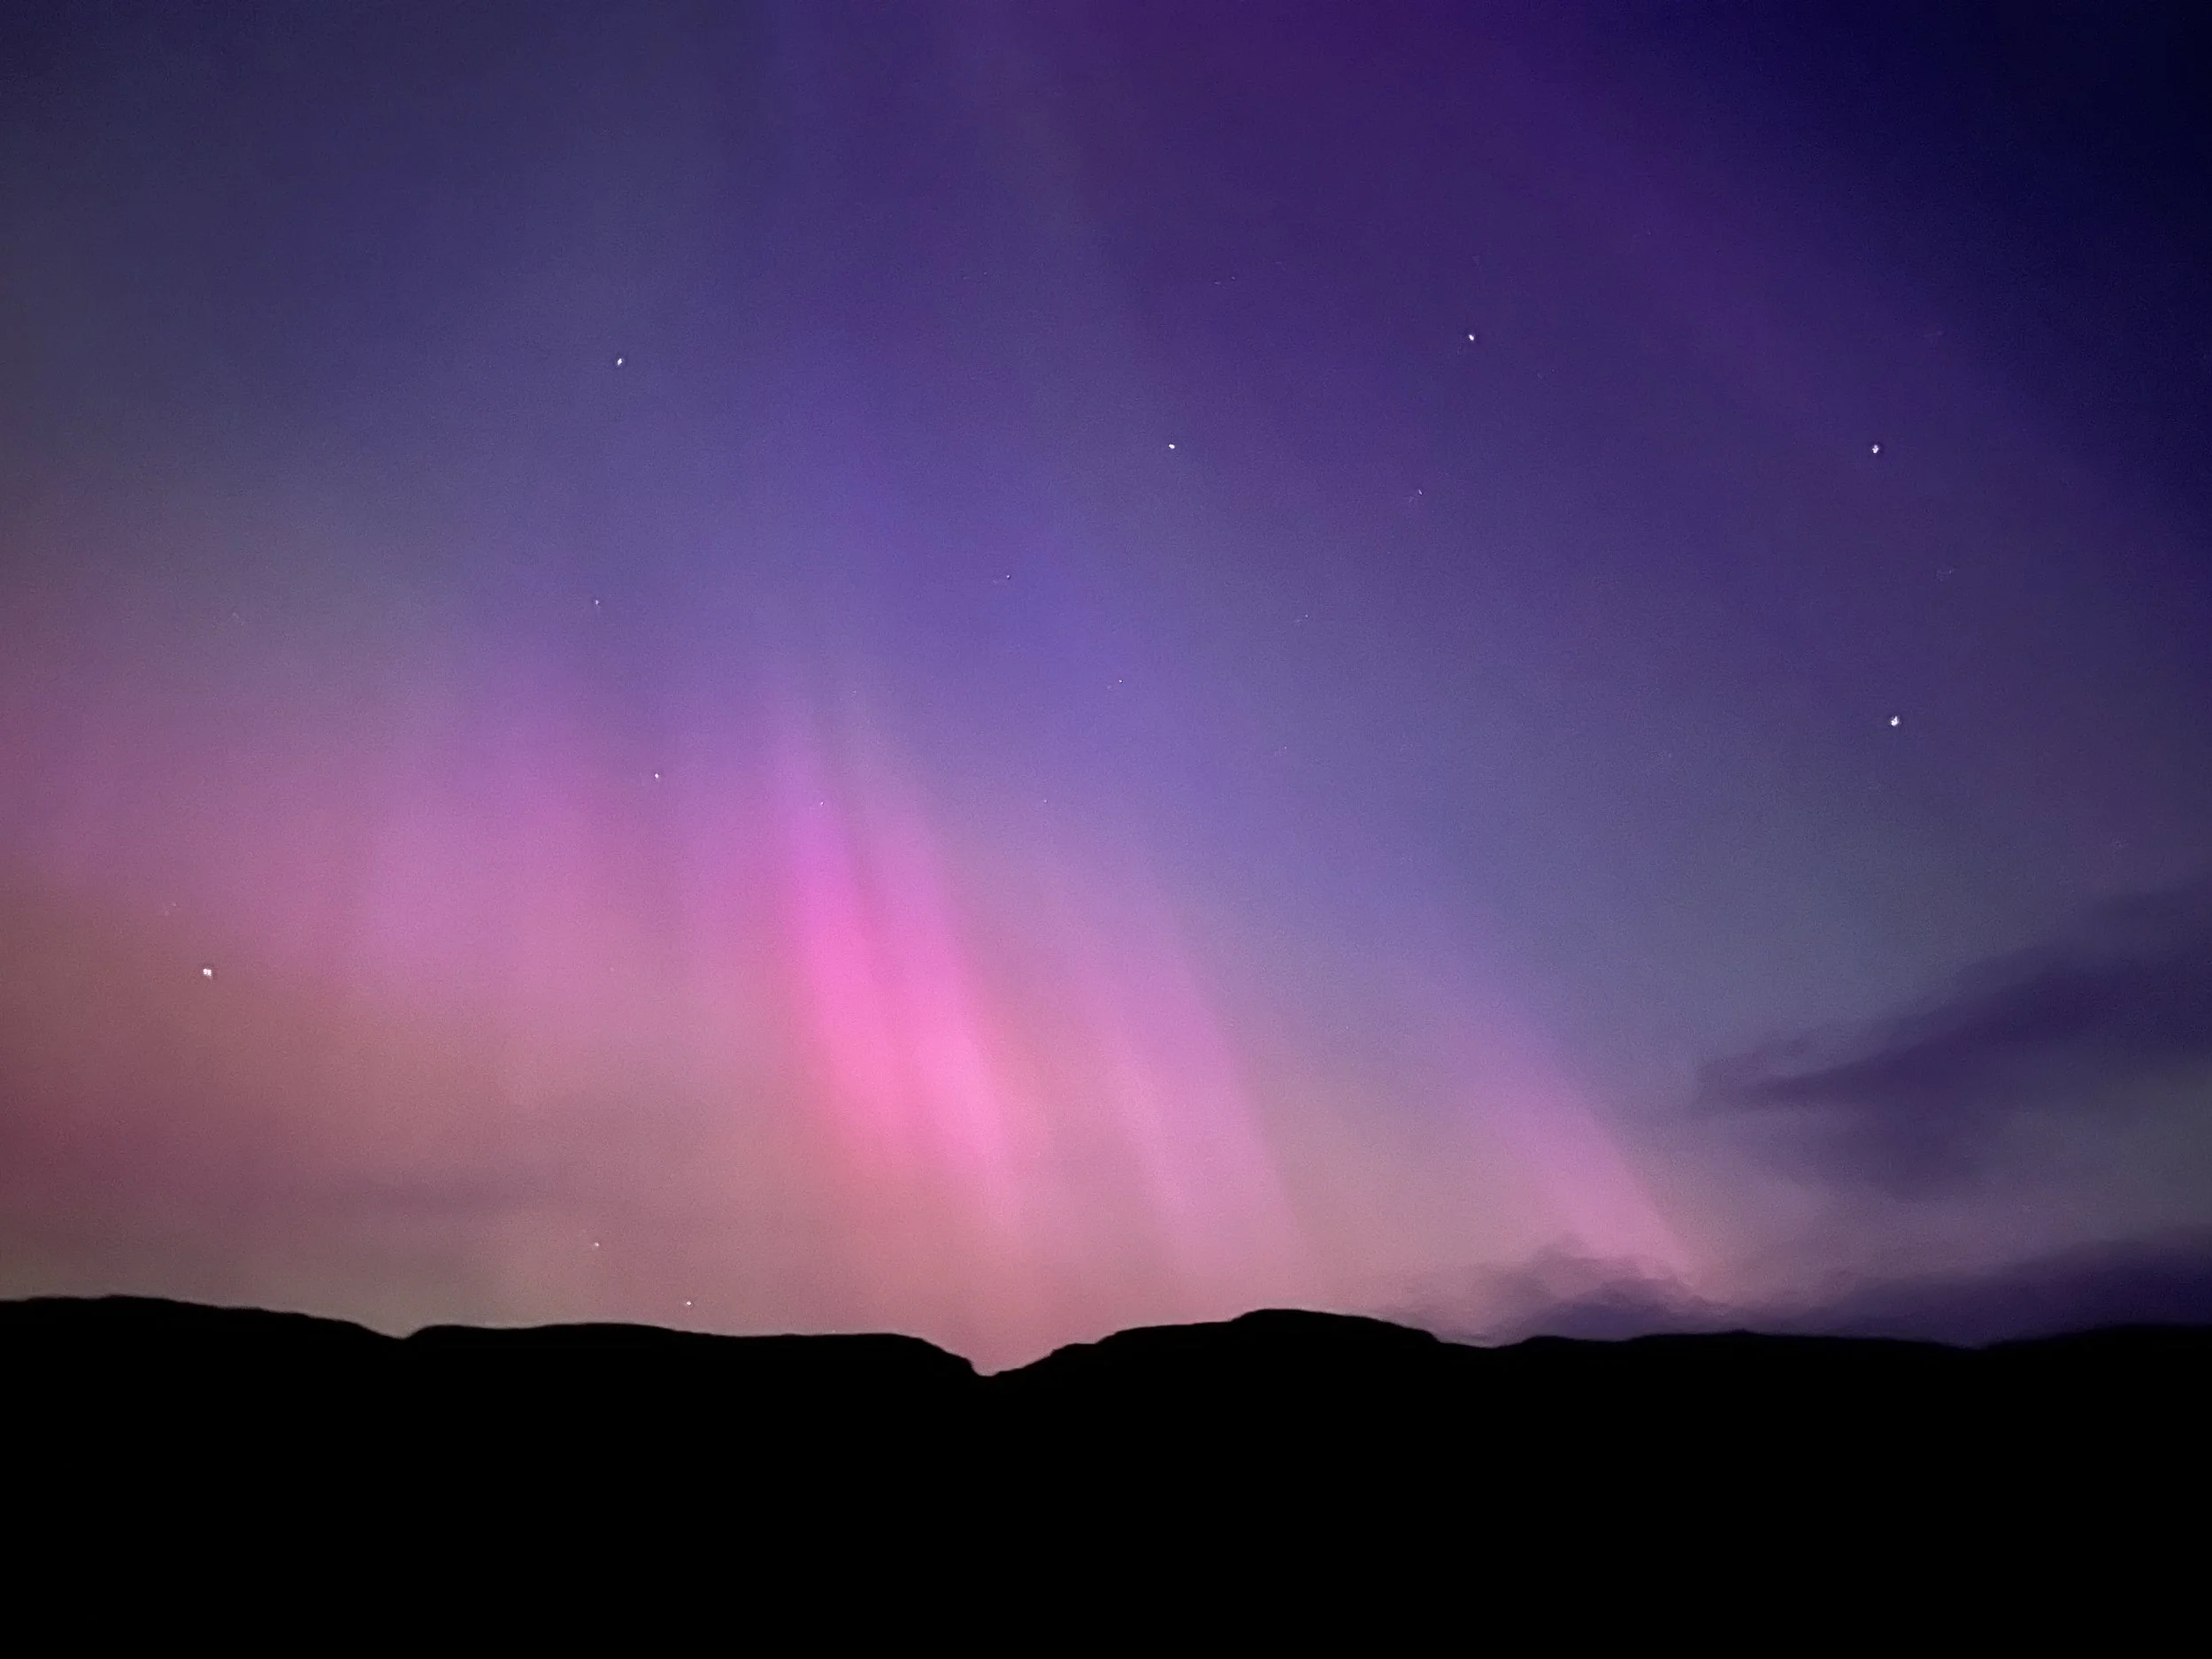
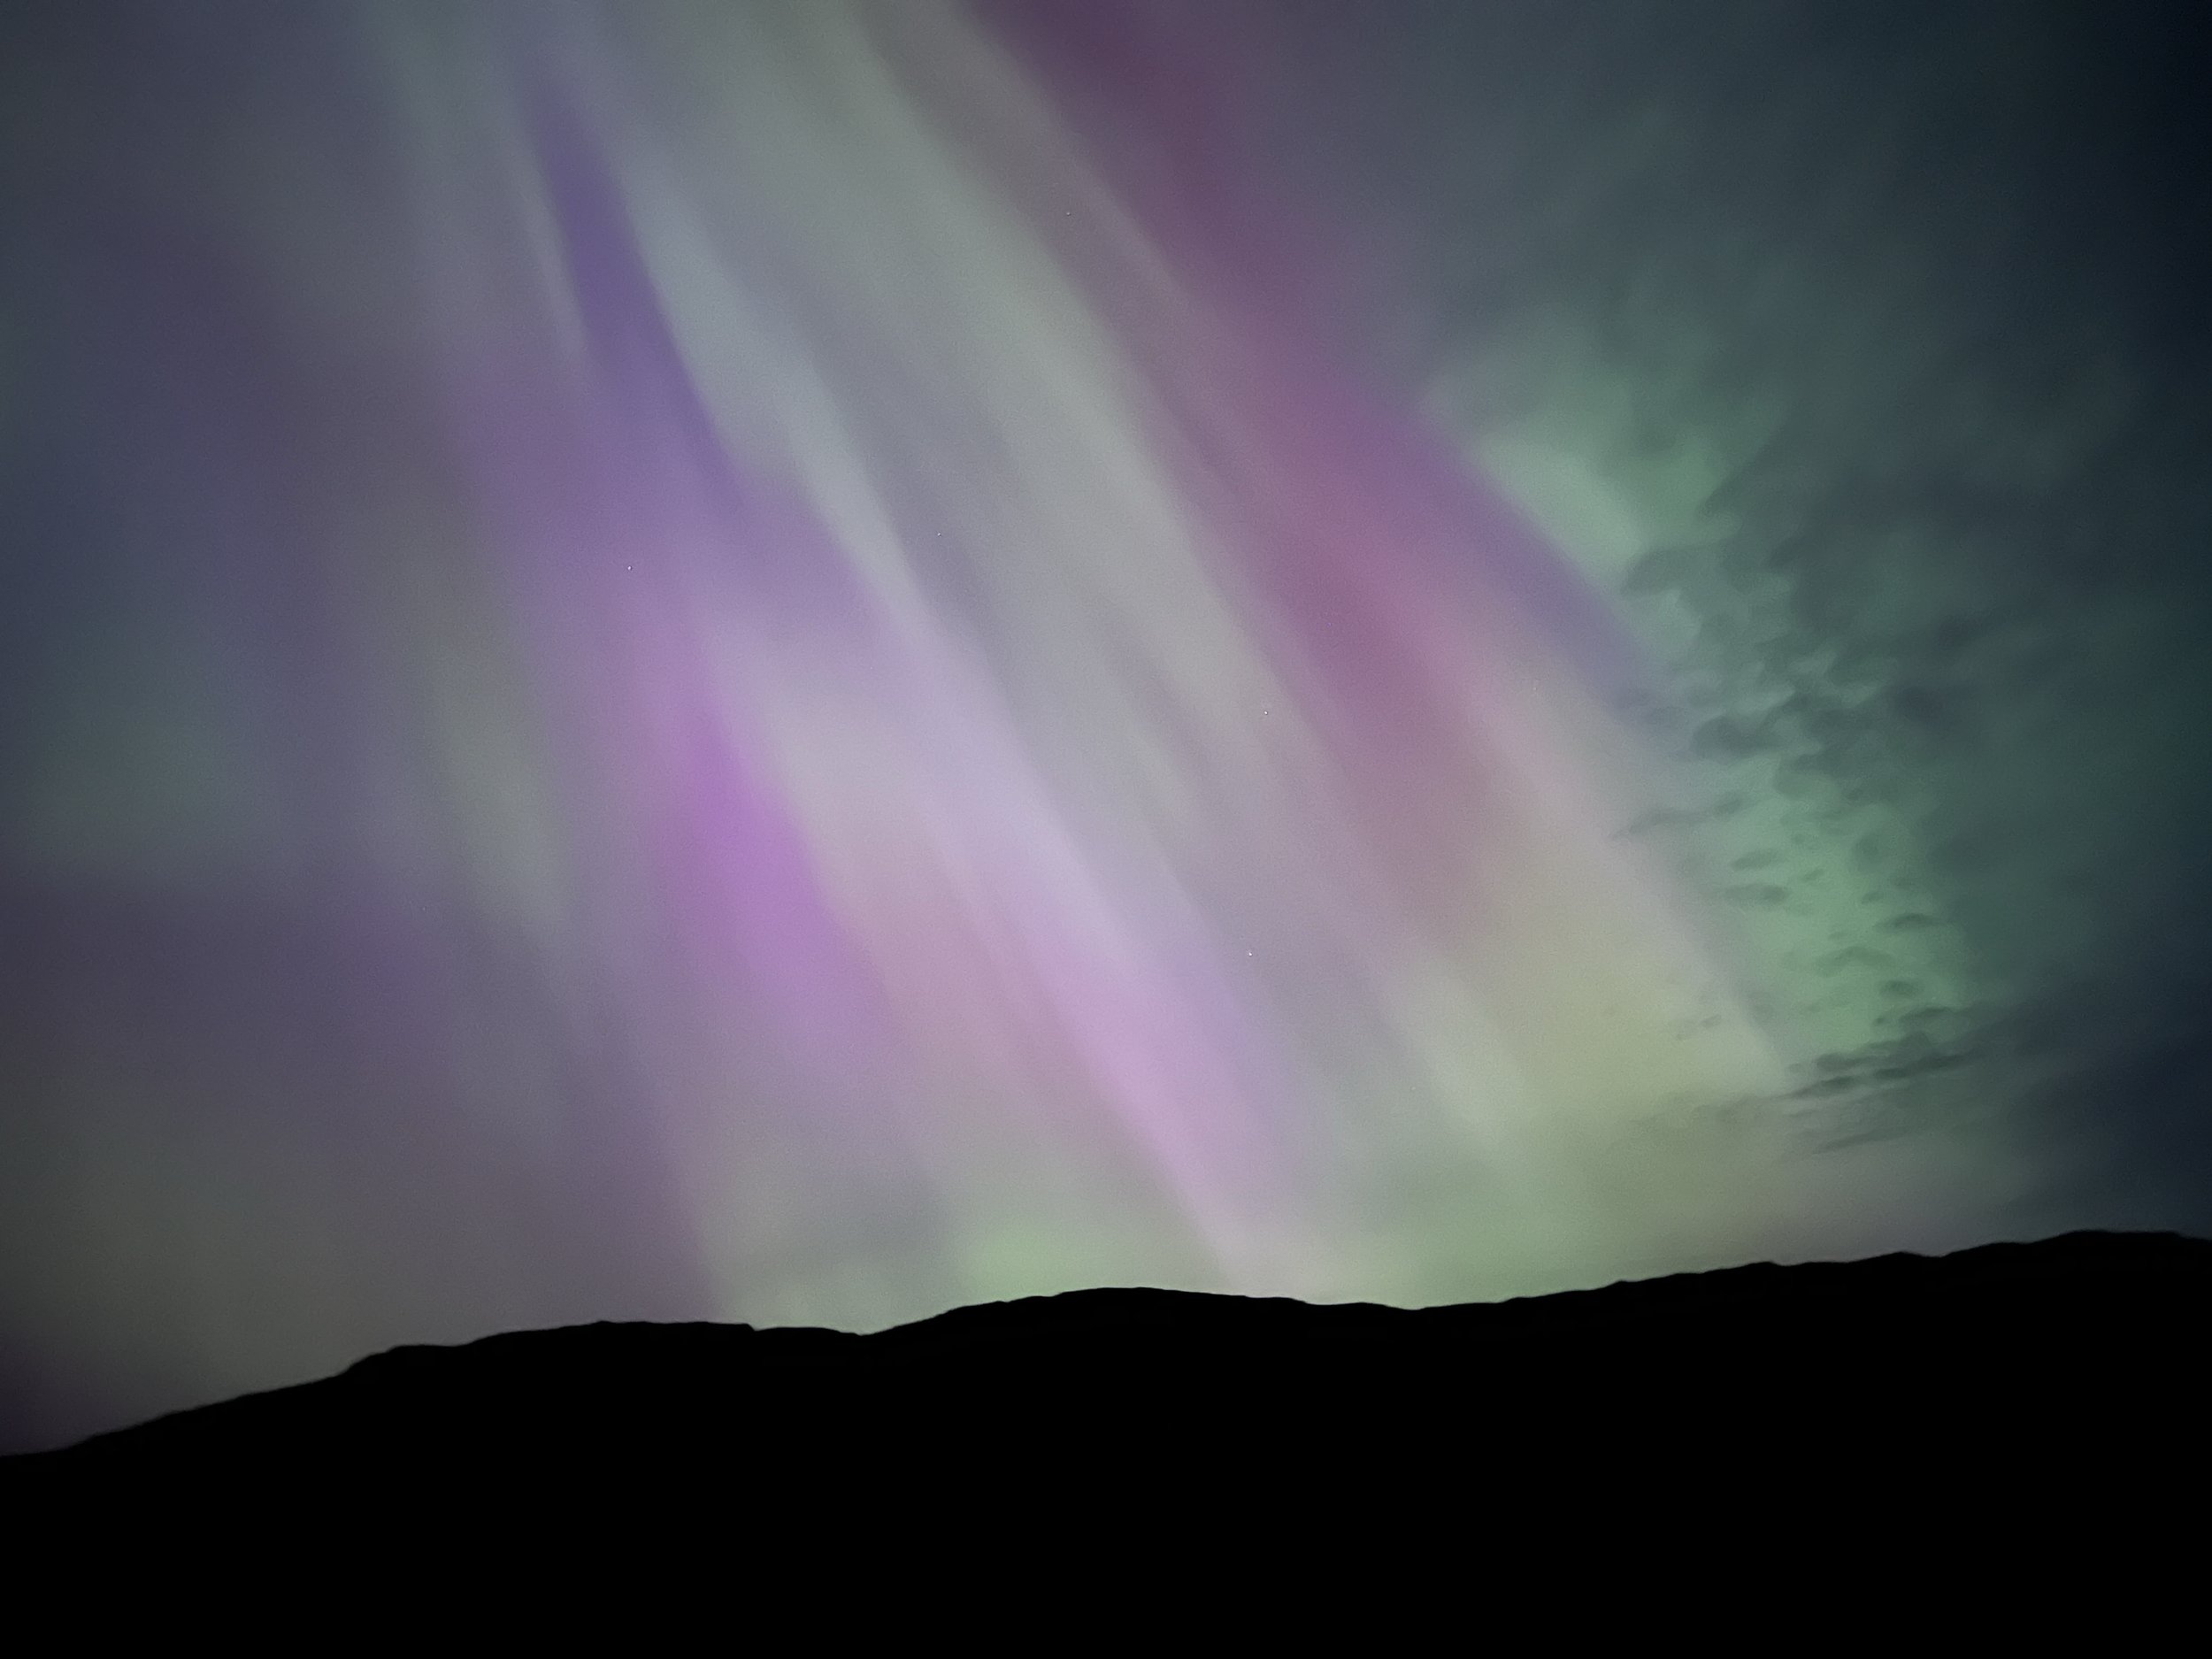
How to photograph the Aurora Borealis with an iPhone
Capturing the Northern Lights with your iPhone can be a magical experience. Here are some tips to help you get the best shots:
Use Night Mode: Your iPhone's Night Mode is essential for low-light photography. It keeps the camera sensor open longer to capture more light. To maximize this, open the camera app, tap the Night Mode icon, and slide the exposure time to the maximum (up to 30 seconds if using a tripod).
Stabilize Your iPhone: Use a tripod or a stable surface to keep your iPhone steady. This will prevent blurry photos caused by hand movements.
Manual Settings: If your iPhone supports it, switch to manual mode to control exposure, ISO, and focus. Set the ISO to 800-1600, exposure to 10-30 seconds, and focus to infinity.
Use a Remote Shutter or Timer: To avoid shaking the camera when taking a photo, use a remote shutter release or the camera's self-timer.
Find a Dark Location: Choose a spot with minimal light pollution and a clear view of the northern horizon. Apps like Dark Sky or Aurora Forecast can help you find the best times and locations.
Dress Warmly and Be Patient: It can get very cold while waiting for the Northern Lights, so dress warmly and bring hot drinks. Be prepared to wait, as the lights can be unpredictable.
Post-Processing: After capturing your photos, use photo editing software to adjust the exposure and contrast to bring out the vibrant colors of the Northern Lights.
Happy shooting!


